I'm particularly proud of this idea, so I hope you enjoy the tutorial and make a necklace yourself. If you do, make sure to post a link or send me pictures!
As I promised last week, we're using a soda can again, but this time it's the star.
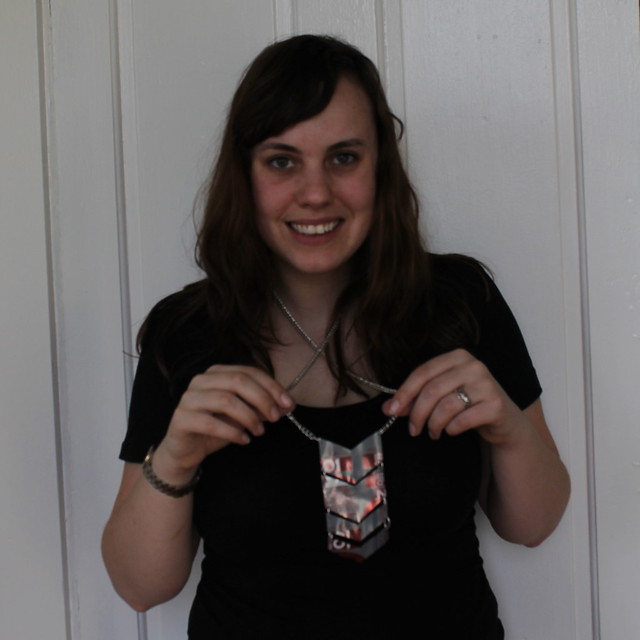
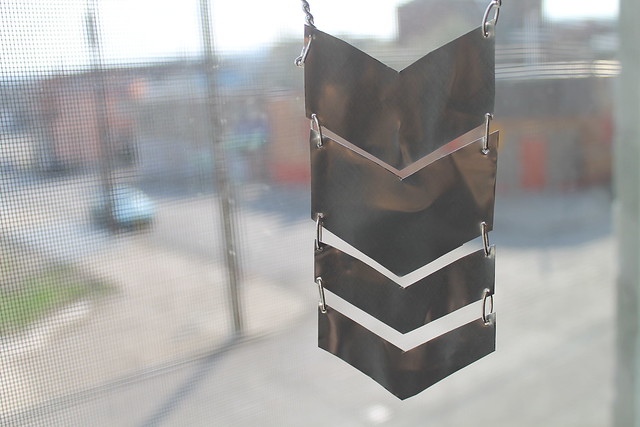
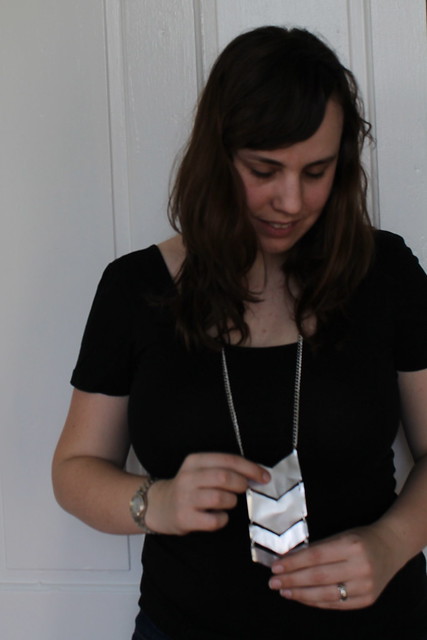
I really like the way this necklace looks. Aluminum is actually a quite beautiful metal. And no one would ever guess your necklace used to be a soda can . . . unless they saw the back.
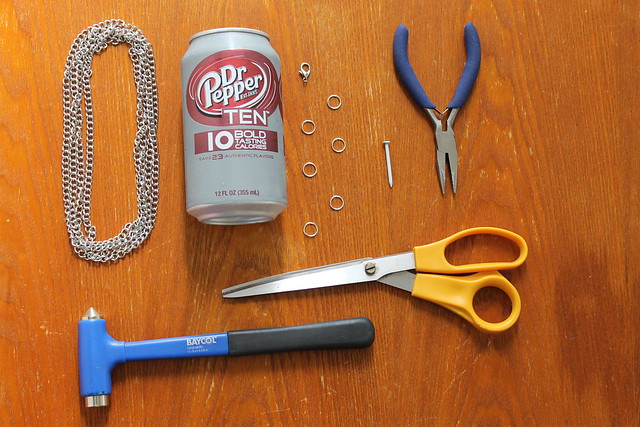
You will need:
- Chain the length and weight you want for your necklace
- Scissors
- Pliers
- O-rings
- Hammer and tack nail
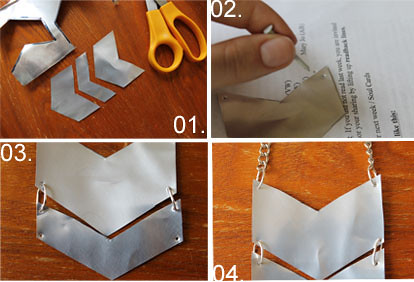
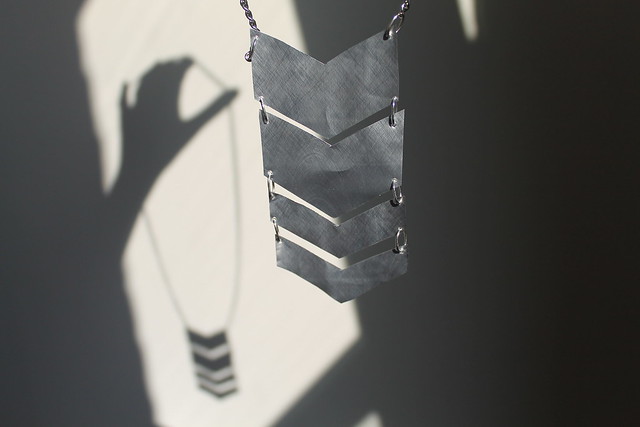
Step 01. Using the scissors, cut the top and and bottom off your soda can. Cut it down the center so that you have a rectangle. Rinse all the soda off. Cut out chevron shapes. I chose two large ones and two narrow ones (essentially another large one cut in half). You might want to draw on paper to make a pattern first, or draw directly on the metal, or you can freehand it. It's your preference.
Step 02. Using the hammer and nail, hammer holes into the corners of your chevron shapes. You can set the shapes on a stack of scrap paper, a piece of scrap wood, or directly onto the ground outside to give the nail something to sink into. You want holes in the top and bottom corners of every shape except the bottom one, which should have holes only in the top two corners.
Step 03. Using the pliers and o-rings, link up the chevron shapes in your desired order. I chose to put the two big ones on top and the small ones on bottom, but you can do any order you like to change up the design a little bit.
Step 04. Use o-rings to connect the chain to the top two corners of your top chevron piece.






so pretty! I may just try it!
ReplyDelete