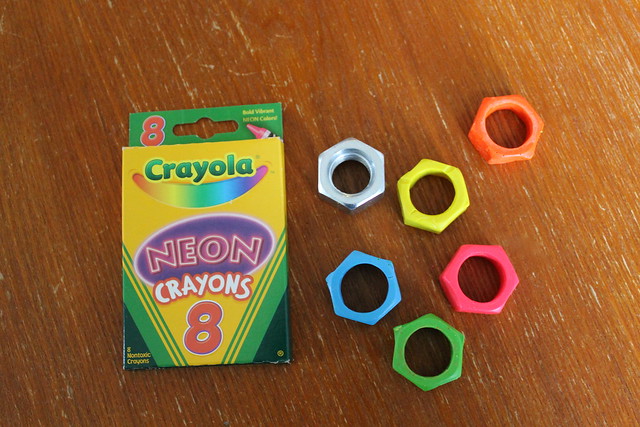
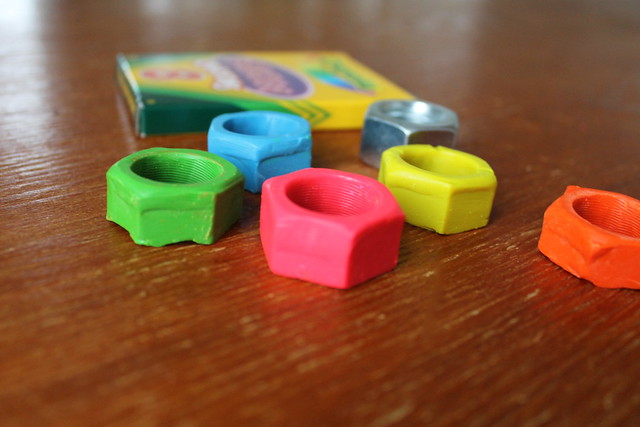
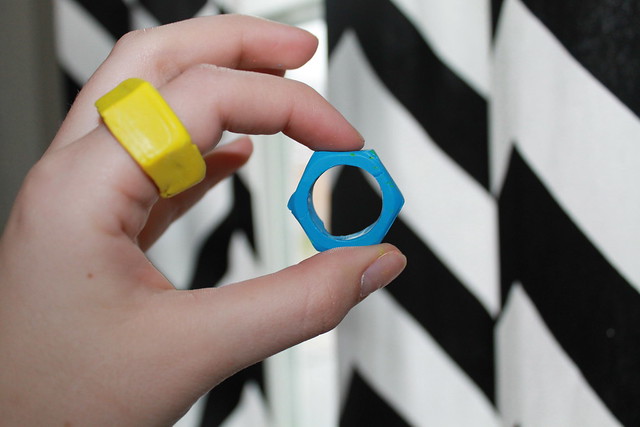
This is one of the most exciting projects I've ever done. I love it because it's such an unexpected way to make jewelry, and because the end result is so fun and wearable.
Last Friday we used 1/4" nuts to make a braided leather bracelet. This week, we'll be using a 3/4" nut to make a mold for pouring colored wax rings.
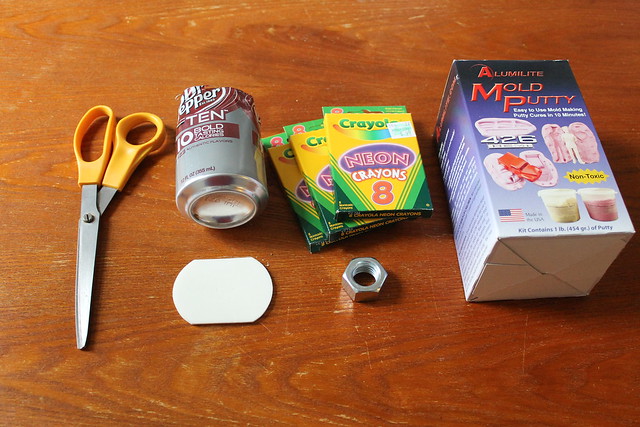
You will need
- A mold putty kit
- Crayons (It takes about 3 crayons per ring. You can combine like colors or use three identical crayons to keep the color consistent.)
- One 3/4" metal hardware nut (Don't worry if it's a bit smaller or a bit bigger than fits you perfectly. We'll get to sizing at the end.)
- One metal soup can, soda can with the top cut off, glass jar (anything that is oven safe and that you can throw out later.)
- Sandpaper or sandpaper pad
- Scissors
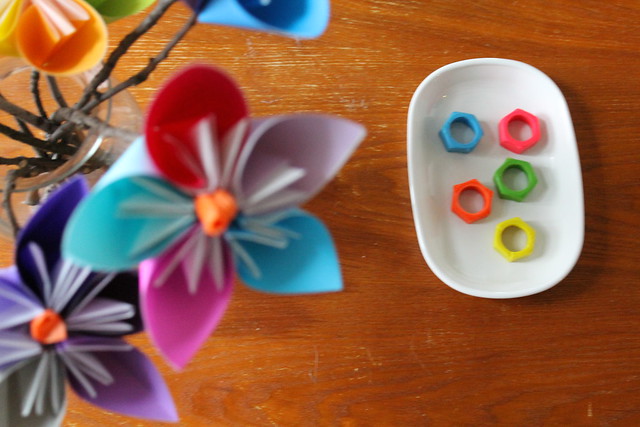
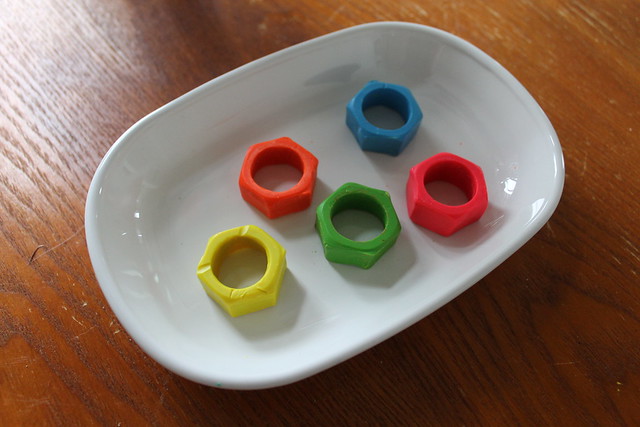
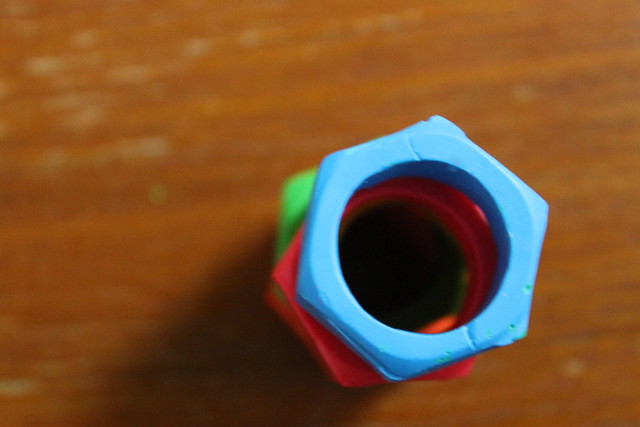
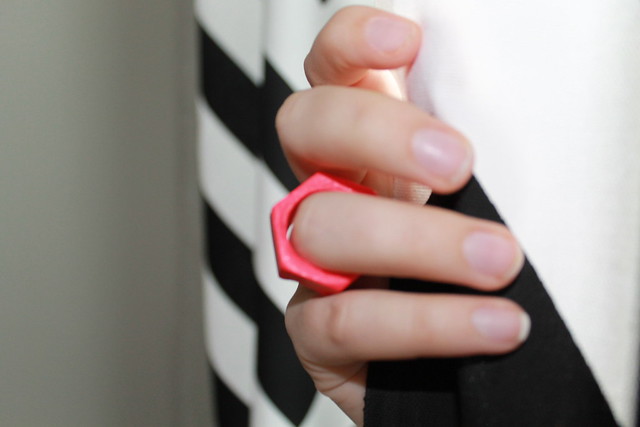
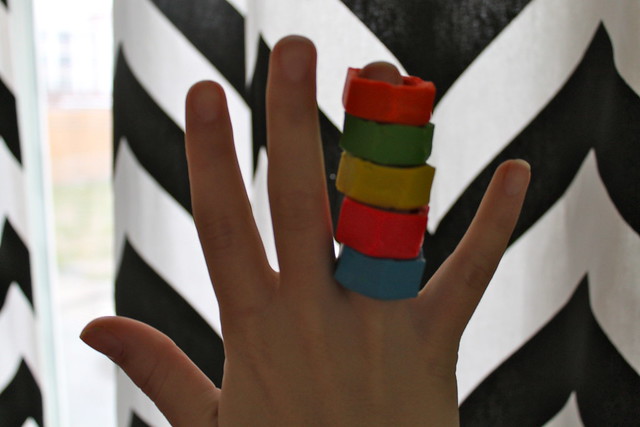
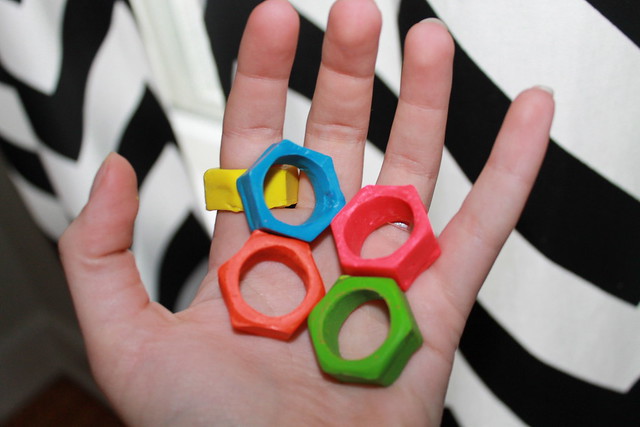
I wanted my rings to be pure, bright, neon colors, so I bought three 8-packs or neon colors so that I could use identical crayons. The colors you see are "Shocking Pink," "Laser Lemon," "Sky Blue," and "Outrageous Orange." I made the green by combining the "Laser Lemon" leftovers with a "Green Yellow" and a "Yellow Green" from a standard pack.
Okay, here's how you do it! . . .
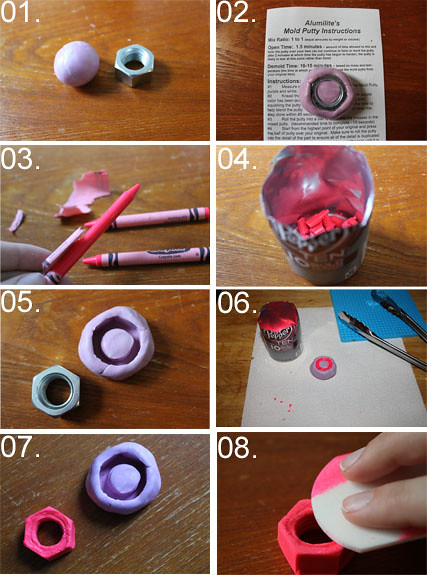
Step 01. Follow the instructions on the mold putty kit to mix the putty, roll into a smooth ball, and press around the nut to make a mold. You will need to work quickly because the putty starts to set soon.
Step 02. Let dry according to mold putty kit instructions.
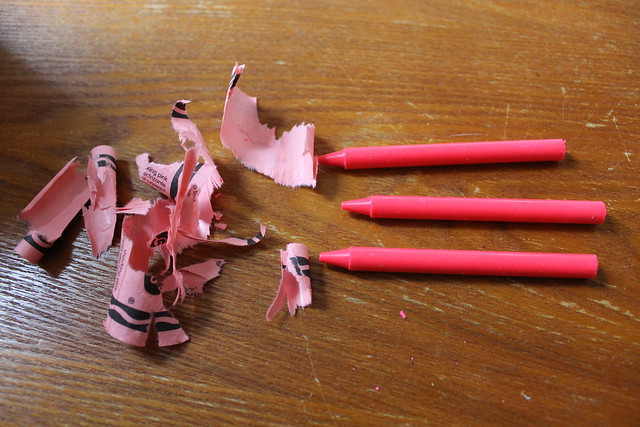
Step 03. Meanwhile, tear the paper off your crayons. You can do this with your fingers, but scissors sometimes help.
Step 04. Break each crayon into 4 to 5 roughly equal pieces and toss into the can. Again, this can be done by hand, but scissors help.
Step 05. Carefully, remove the nut from its rubber mold.
Step 06. Melt crayons by placing the can on a cookie sheet in a 325 degree F (about 160 C) oven for 3 to 5 minutes. Remove from over are carefully pour the hot wax into your rubber mold using a hot pad holder or tongs. You might want to do this over newspaper or paper towels to protect your countertop.
Step 07. Cool completely (about 15 minutes) before un-molding.
Step 08. Use the sandpaper to smooth any irregularities. You can also use sandpaper or a butter knife, to file down the inside of your ring if you want it to fit a bigger finger. Conversely, you can make it fit a smaller finger by painting some hot wax onto the inside in smooth, even layers.
So, last week, we used nuts and, this week, we we used one again. This week, we used a soda can, and, next week, we'll be doing something new with another soda can. Can you guess what it'll be?




OK, I seriously need one of these? Gotta figure out how to make it for myself. What a simple and fun craft! - Katy
ReplyDeletewoah, those look amazing.
ReplyDeleteThanks. I'm pretty excited about them. I've been wearing one everyday since I made them. :)
ReplyDeleteThank you. Don't forget to send a link or photo if you make some! :)
ReplyDelete