



Showing posts with label home decor. Show all posts
Saturday, May 2, 2015
DIY Industrial Shoe and Coat Rack (Inspired by Urban Outfitters)
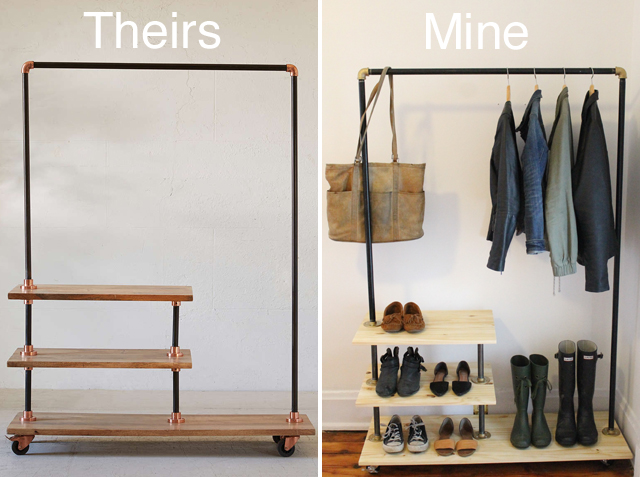
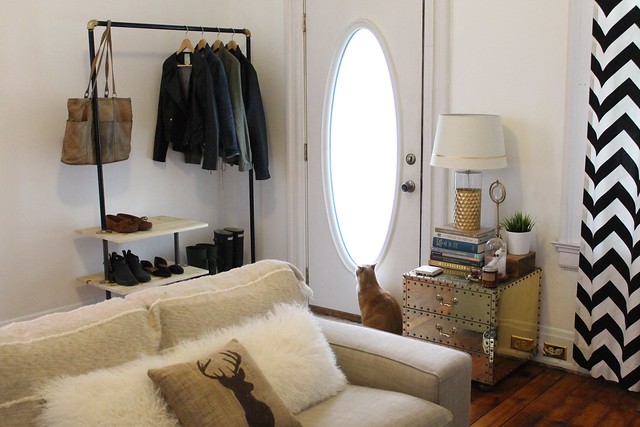
When I saw this industrial storage rack from Urban Outfitters I knew it was exactly what we needed for our entryway. It's got the simple, masculine, industrial look that I'm always attracted to, and it's the perfect size to store our favorite shoes and jackets.
But, I couldn't see spending $500 on something I could make myself with a few boards and pipes. Especially since, as Ryan pointed out, we'd probably have to assemble it out of the box anyway. So, this past week, Ryan and I picked up some supplies at Home Depot and put together one of our own.
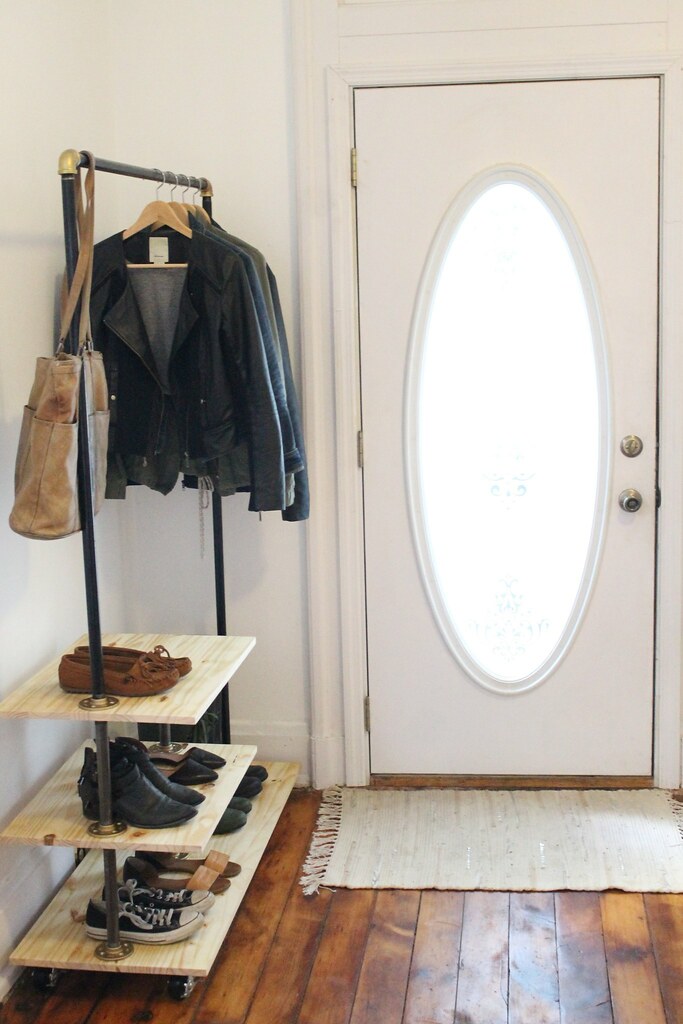
The supplies cost about $200 and the whole project took about a day including shopping time and drying time. Home Depot cut the boards and pipes to our specifications. The best part was that we could customize the rack exactly how we wanted it. For example, I spray painted the connecting pieces gold to match the gold accents in our front room.
We used black iron pipe, but you could also use galvanized steal or copper for a different look, or you could spray paint the pipe another color.
Supplies
Two 3/4" thick 18"/46" boards, one cut in half crosswise (If you can't find these exact detentions, don't seat it.)
Four 10" pieces of 3/4" pipe (At Home Depot these were pre-cut pieces called "nipples.")
One 43" piece of 3/4" pipe (for the short side)
One 42" piece of 3/4" pipe (for the top rail)
One 65" piece of 3/4" pipe (for the long side – We bought this one on a separate trip, first measuring the mostly-complete rack to determine the exact length we would need.)
Ten 3/4" floor flanges
Two 3/4" iron elbows
Four large casters with locks
Screws to fit the floor flanges and the casters (Make sure they're short enough not to go through the boards.)
A power drill with a drill bit slightly smaller than your screws and a screw bit to fit your screws
A can of matte clear spray paint or another wood finish, sealer, or stain
A can of metallic gold spray paint
Instructions
Start by treating both sides of the boards with the matte clear spray paint. This will protect them somewhat from the water and mud you track in on your shoes. Spray paint the flanges and elbows on all sides with metallic gold and let dry.
Attach the casters to the underside of the long board with screws, drilling first to give the screws something to dig in to.
Starting at the bottom and working your way up, attach the 10" length of pipe with the floor flanges first to the bottom board and then to the other boards. You will need to rotate the flanges slightly so that flanges on opposite sides of the same board each have room for all their screws.
Use the final two flanges to attach the short-side pipe to the top board and the long-side pipe to the bottom board. Use the iron elbows to attach the side pipes to the top rail.
Stand back, admire your work, and Instagram the shit.
Labels:
DIY,
home decor,
urban outfitters
Monday, January 5, 2015
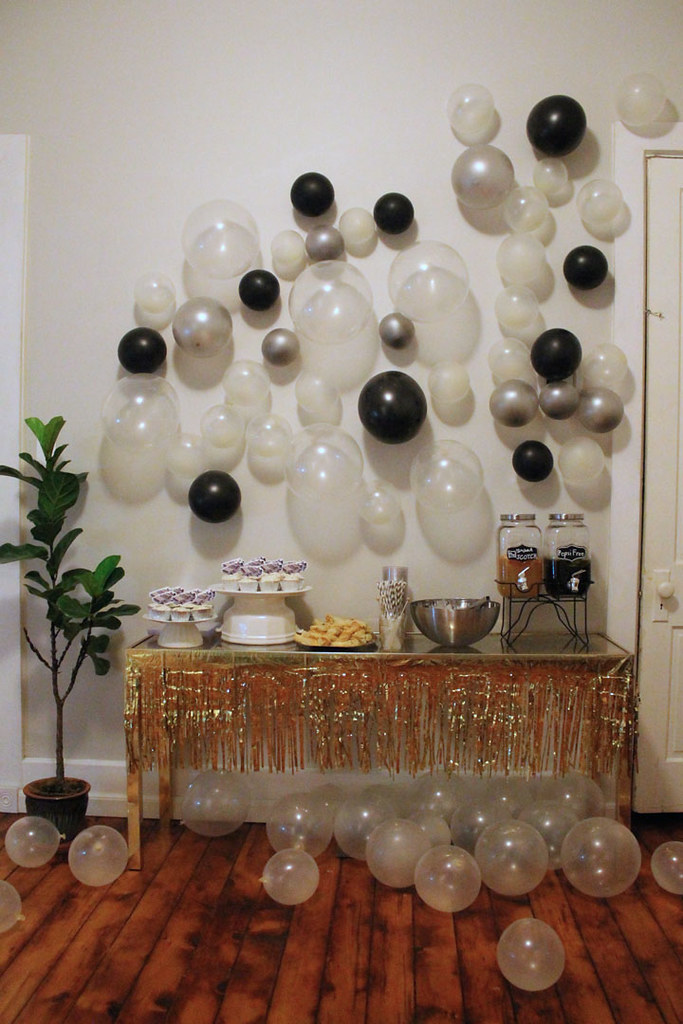
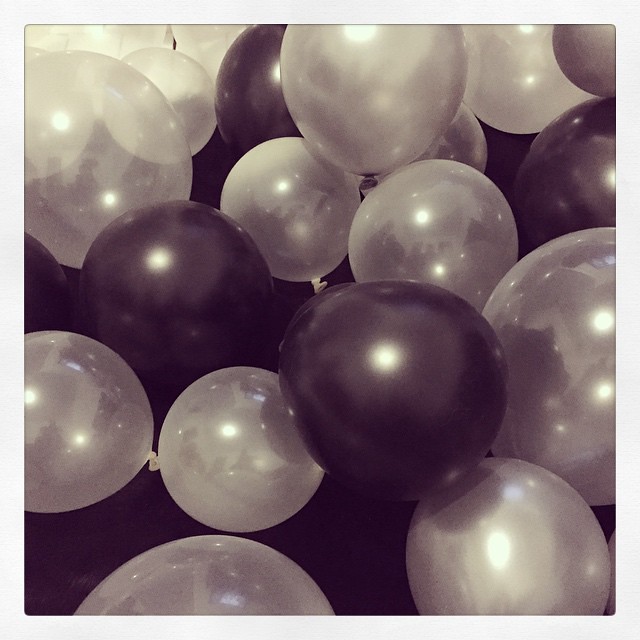
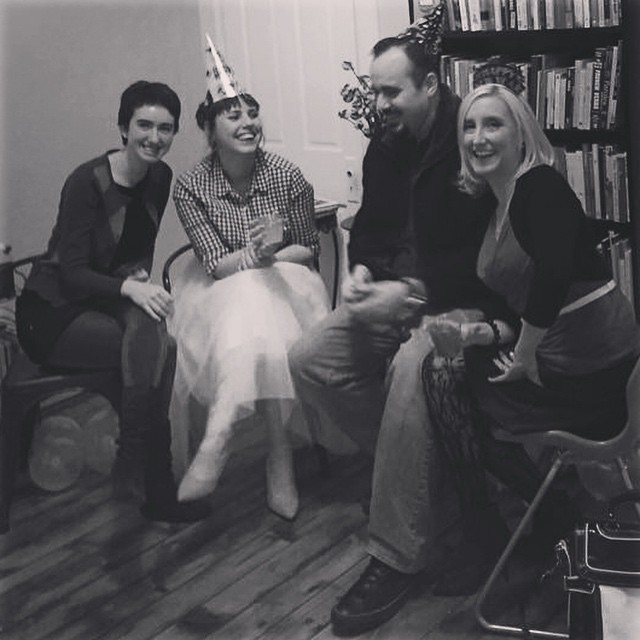
Our 2015 Back to the Future Themed New Year's Eve Party

For years and years I've known that when 2015 finally hit, I wanted to celebrate by throwing a Back to the Future themed New Year's Eve party.
Of course, as the actual date approached, I wasn't exactly in the best situation to host a party. We bought our house this year and we still haven't bought all the furniture we need or hung any or our art or even made curtains for all the windows. I don't know if you know this, but it turns out houses are a lot bigger than apartments.
I knew that I had to pull it together because 2015 only comes once. Not even once in a lifetime, once. Ryan was a huge help, and together we got the house in order (enough), bought a sofa (we still need a dining room table, but hey, more room for guests to stand), and threw the party of my dreams.
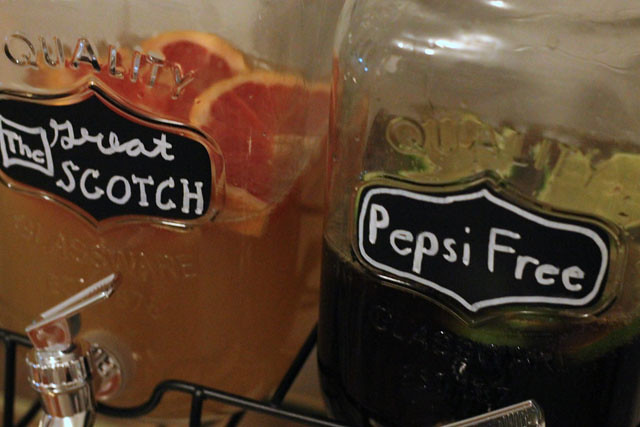
I made parmesan and herb flux capacitors, DeLorean cupcake toppers, and two themed cocktails, and we all rang in the new year with noise makers and a champagne toast. It was such a joy to host some of my favorite people on such a special day.


Labels:
food,
holidays,
home decor,
movie,
parties
Monday, September 29, 2014
Signs of Life: On Settling into Our New Home
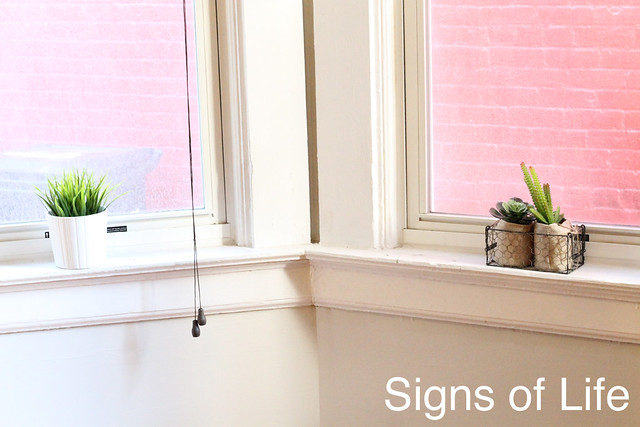
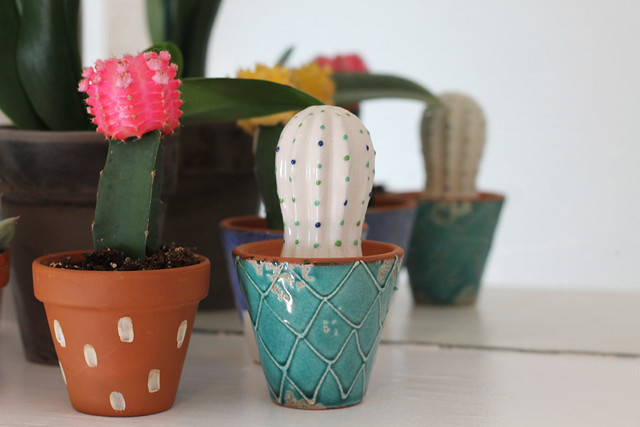
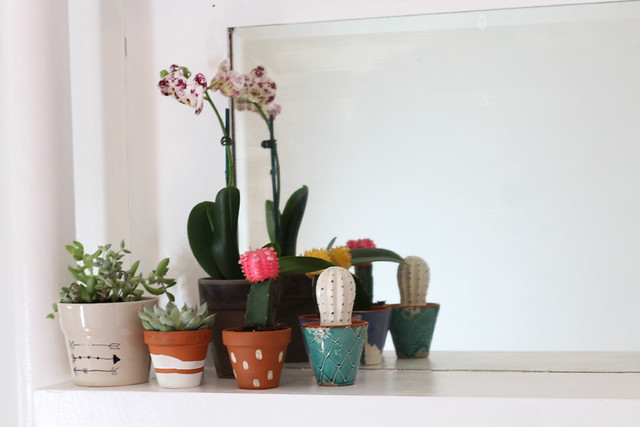
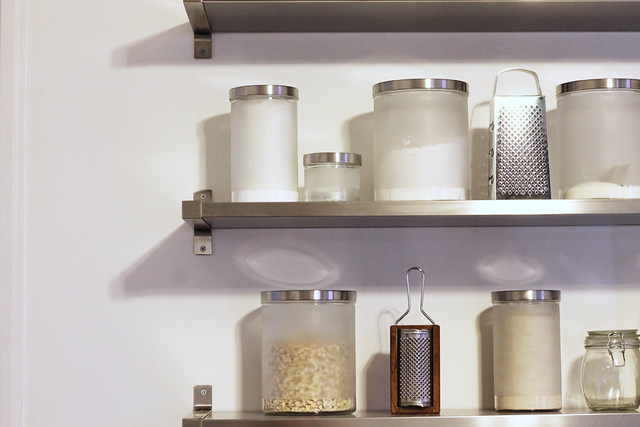
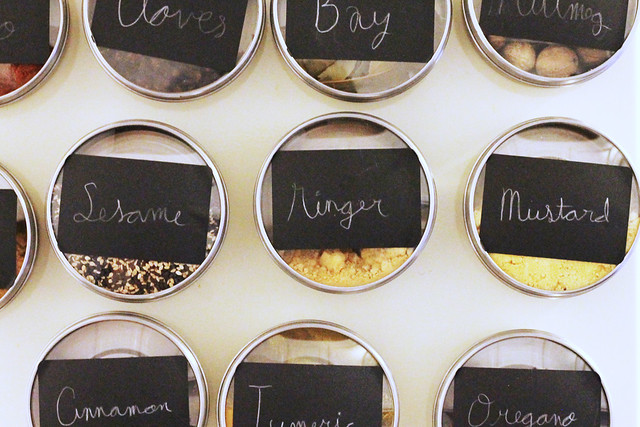
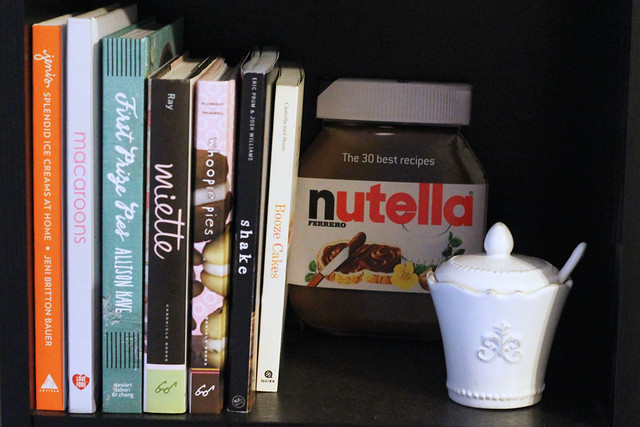
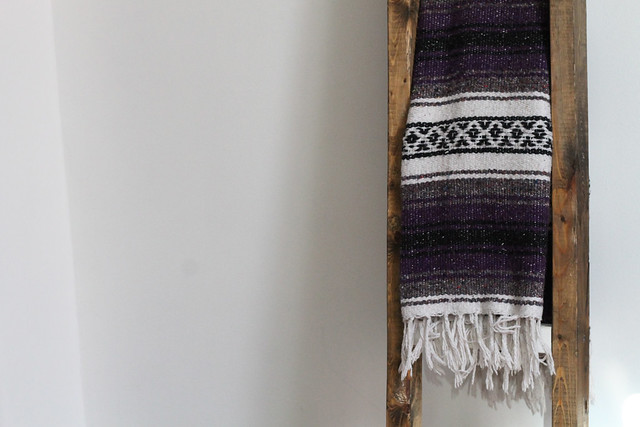
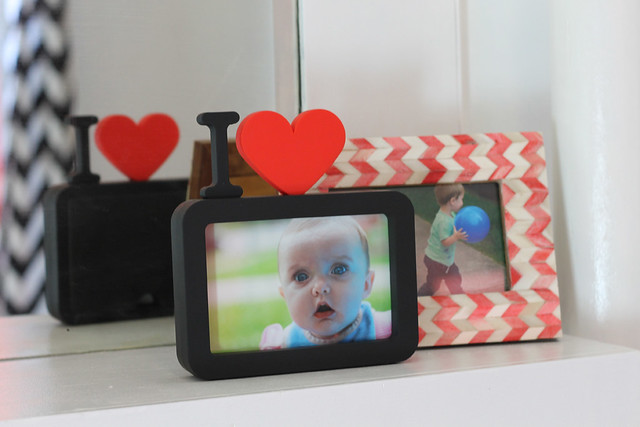
Moving into our new home is proving to be a slow process. It definitely feels like home, but we don't feel completely settled yet, and I doubt we will for a while.
But, even though there are still shelves to be hung and boxes to be unpacked and furniture to be bought, there are also tiny tableaux creeping up here and there, making the place feel lived in. These signs of life excite me as I imagine how our home will look eventually when it's functional and full of life
Labels:
daily life,
home decor,
photography
Tuesday, August 19, 2014
Home Office Wish List

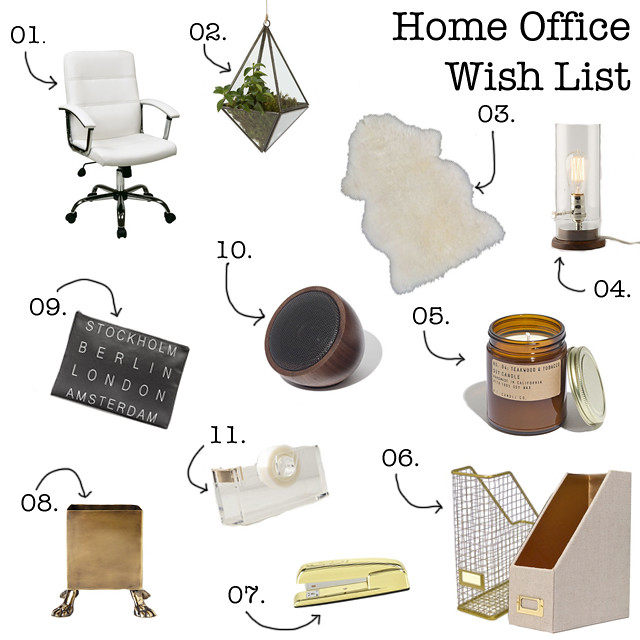
As with the rest of the house, I'm trying to balance masculine elements with feminine ones and harder things with soft pieces. For my home office, I've been drawn to lots of white, gold, and lucite, with bits of unbleached canvas and dark wood to keep things grounded.
Having a space of my own to focus on my writing and other projects feels like such a luxury, and my biggest hope is that working in a fresh, dedicated space will help keep me motivated, focused, and inspired as I continue to make strides toward my goal of supporting myself full time with my writing.
01. Target, 02. Terrain, 03. IKEA, 04. Anthropologie, 05. Madewell, 06. Target & Target, 07. Target, 08. Anthropologie, 09. Madewell, 10. Madewell, 11. Anthropologie
Labels:
anthropologie,
home decor,
Ikea,
madewell,
shopping,
target,
Terrain,
wish list
Monday, July 21, 2014
New Home Wish List

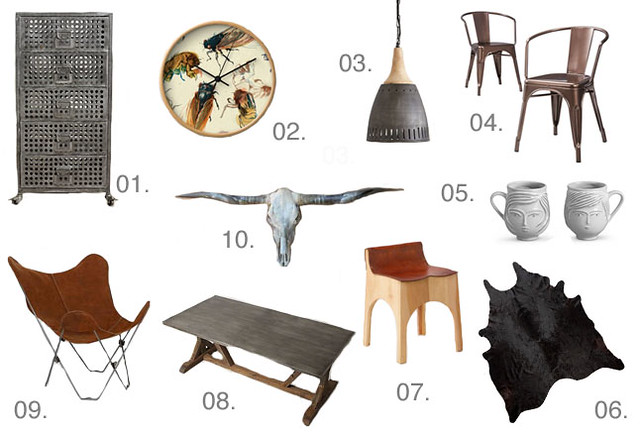
01. Anthropologie, 02. Society6, 03. Anthropologie, 04. Target, 05. Jonathan Adler, 06. IKEA, 07. Terrain, 08. Anthropologie, 09. Urban Outfitters, 10. eBay
As we settle into our new home, I'm striving to decorate in an invested and enduring way, choosing pieces and making decisions that feel sophisticated and timeless.
As with fashion, I'm often drawn to masculine things with whimsical touches. I want our home to feel industrial and luxe but with plenty of softness, humor, and warmth.
As for colors, I'm really excited about slate-y grays, woody browns, and milky whites, with pops of metallics.
Labels:
anthropologie,
home decor,
shopping,
target,
urban outfitters,
wish list
Friday, December 20, 2013
DI(fr)Yday: Embroidered Constellation Christmas Ornaments
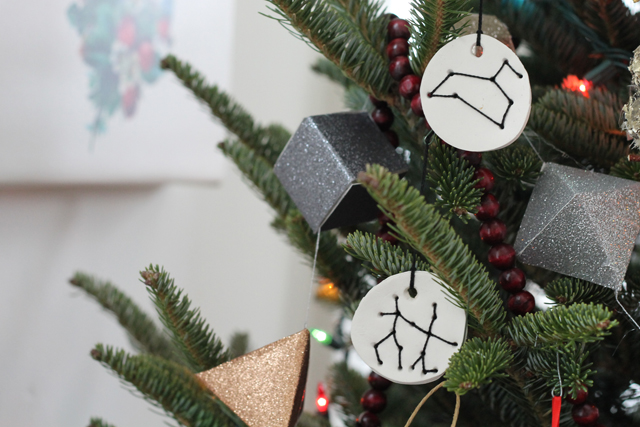
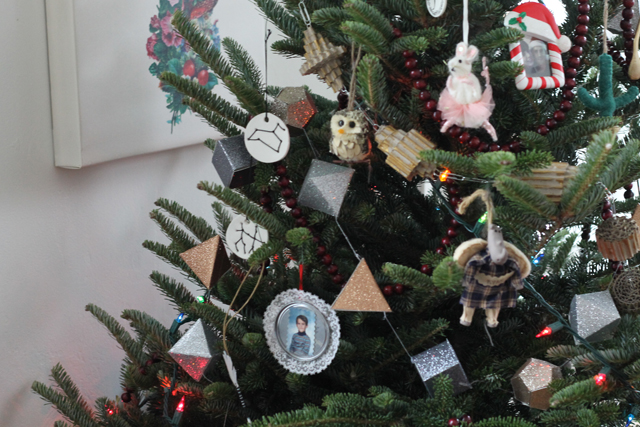
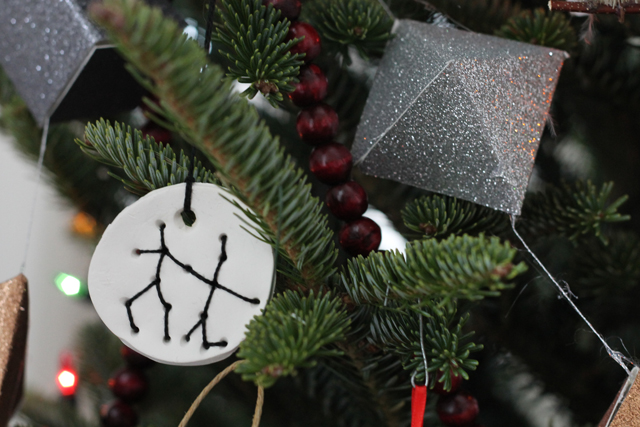
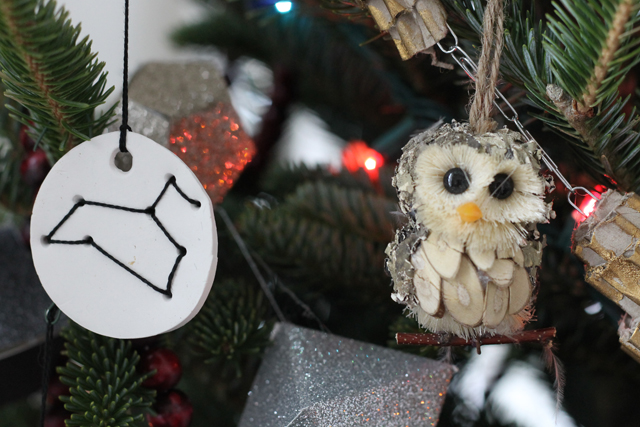
I've been on quite the garland-and-ornament-making kick this Christmas. I really love the simplicity of these DIY clay ornaments, but I wanted to give them my own twist. So I made some simple painted ones and also developed a plan for making embroidered-constellation ones.
I made one with Leo and one with Gemini since those are Ryan's and my sun signs, but I think it would be really cool to do Orion, Ursa Major or another favorite constellation as well.
I followed Kelli's instructions for rolling and cutting the Sculpy, but before baking, I made small holes for each star with the tip of a toothpick. After the ornaments baked and cooled, I used the running stitch to trace the shape of each constellation with embroidery thread.
I love the way they turned out. Don't you think they'd make great gifts, stocking stuffers, or even personalized gift tags?
Labels:
Christmas,
DI(fr)Yday,
DIY,
home decor
Friday, December 13, 2013
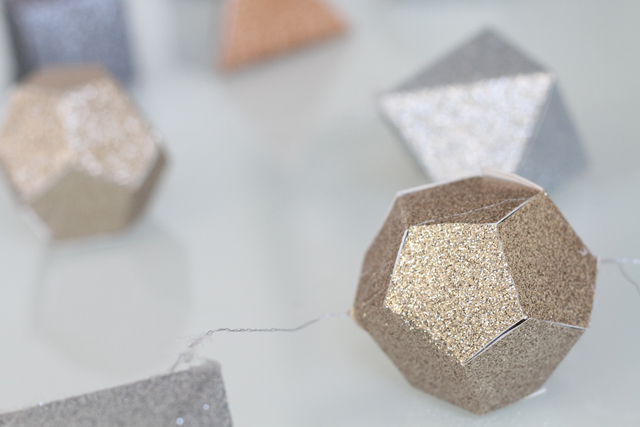
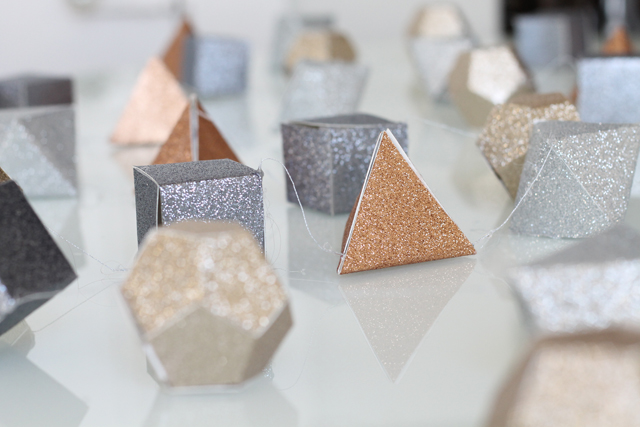
DI(fr)Yday: (Leif-inspired) Glittery Metallic Geometric Garland
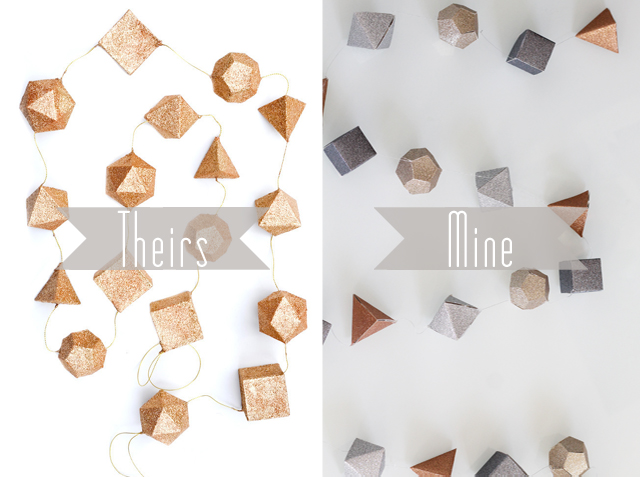
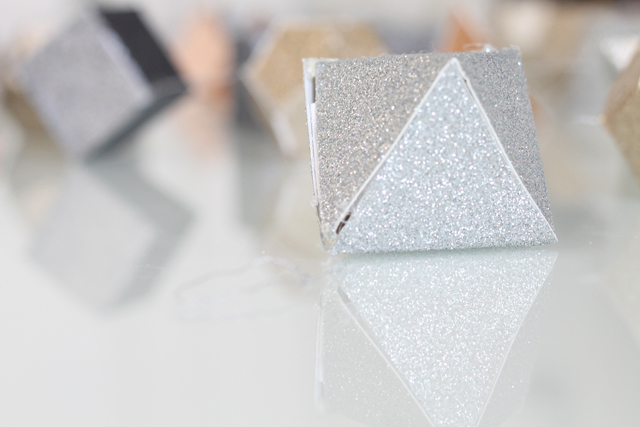
I fell in love with the "Glittered Geometry Garland" at Leif, but decided I could make something similar at home.
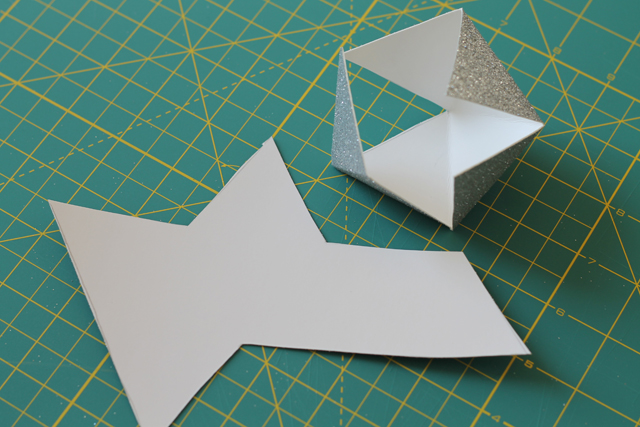
First, I printed 3D shape templates (found here). Then I cut them out of glittered scrapbook paper using an X-Acto knife on a self-healing cutting mat.
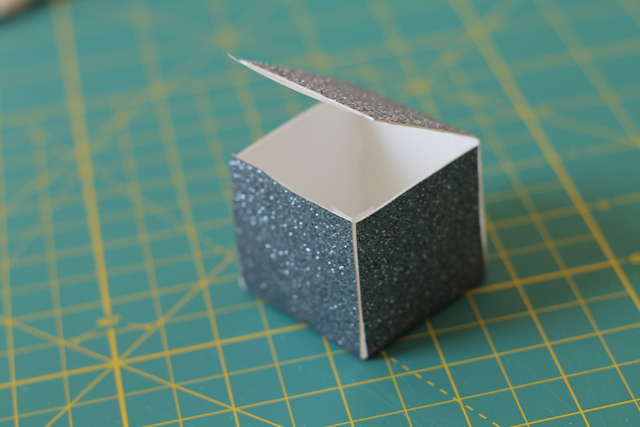
After that, I made up the shapes securing all but one side with Scotch tape on the inside.
I strung the shapes together with gold embroidery thread and secured the thread at the corners of each shape with some hot glue.
Then I closed up the shapes, securing the final side of the shape with hot glue on a tab of paper.
The whole process took a few days, but I really like the end result, and I think it looks great on our tree.
I wasn't able to photograph every step because I mostly worked on it in the dark after work, but I'd be happy to answer any questions if you decide to make it.
Labels:
Christmas,
DI(fr)Yday,
DIY,
holidays,
home decor
Wednesday, November 27, 2013
Our Wedding Registry Wish List
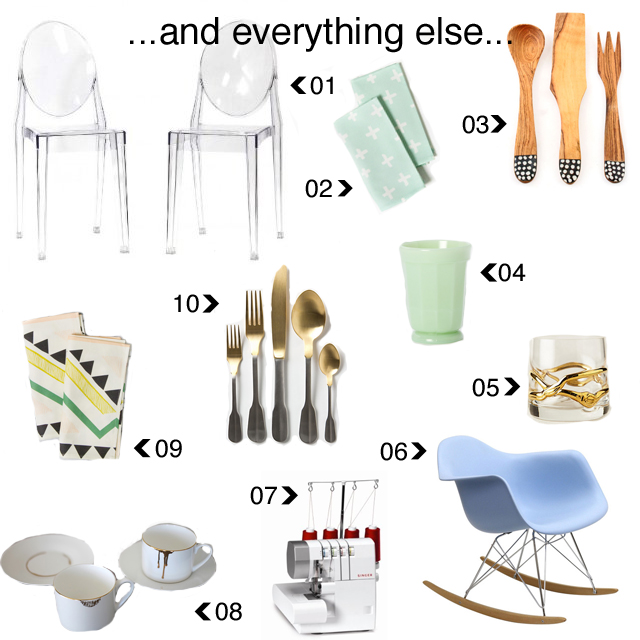
For our wedding, Ryan and I decided to forego a traditional registry, and created an Amazon wish list instead. That way we could register for all kinds of a fun things from a variety of sources. We have lots of Etsy items on our list as well as things from Modcloth, Restoration Hardware, Leif, Anthropologie, Terrain, and even the online printshop of a Swedish photographer I found through Instagram.
Since we've been living together for four and a half years, we don't need a lot of traditional registry items, so, instead, we're asking for a few pretty odds and ends, and a lot of art.
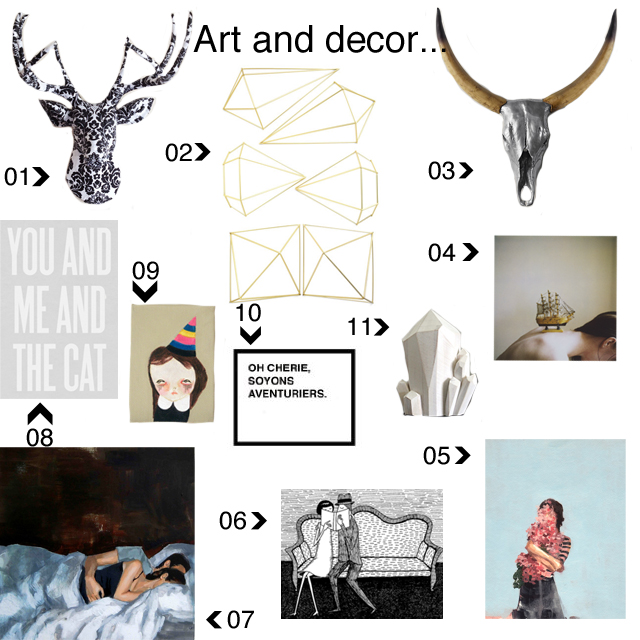

01. Amazon, 02. A Sunny Afternoon, 03. Leif, 04. Terrain, 05. Anthropologie, 06. Sears, 07. Amazon, 08. Reiko Kaneko, 09. A Sunny Afternoon, 10. Anthropologie
Labels:
art,
Etsy,
home decor,
my wedding,
shopping,
wedding,
wish list
Friday, October 11, 2013
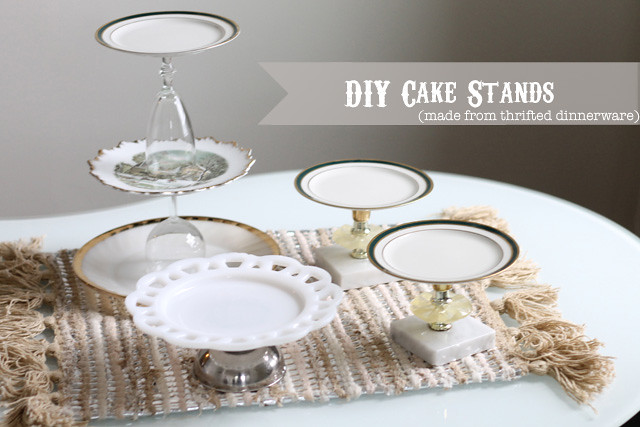
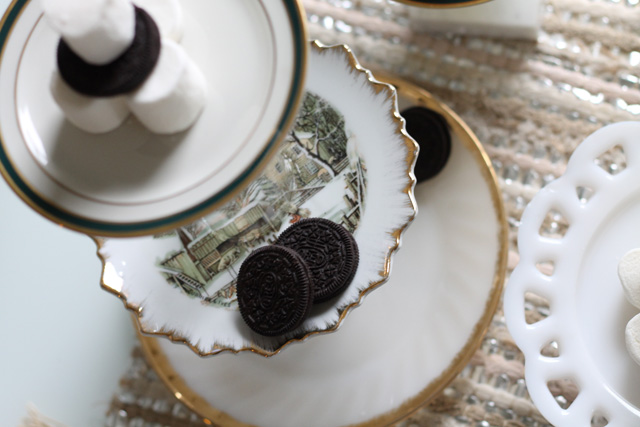
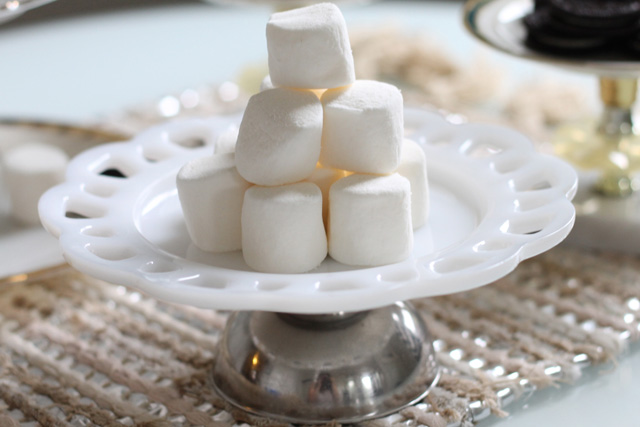
DI(fr)Yday: Wedding cake stands made from thrifted dinnerware
Last weekend, my mom and I tackled another DIY project for my wedding. My mom has made really cool cake stands and tiered tea-cake stands in the past using thrifted dinnerware. She gets really creative with it. So, when it was time to design the look of my dessert table, I knew I wanted to make cake stands with her.
We're going to have a small wedding cake on a stand at the center of our dessert table with a variety of tiered stands of all heights surrounding it, displaying key-lime tarts, powdered donuts, clementines, and assorted candies.
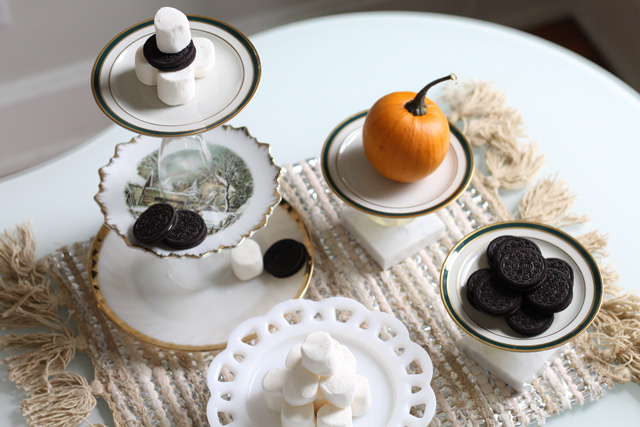
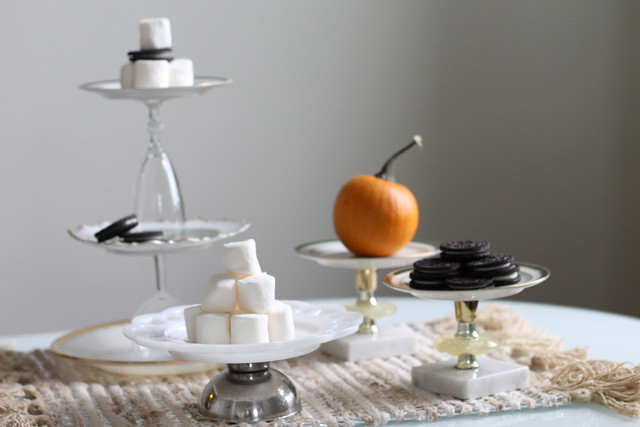
We made a lot more stands than are shown here (but I've got to keep some surprises for the wedding!), and just think how much prettier they'll look displaying treats at my wedding (instead of the random assortment of Oreos and marshmallows that I pulled from my kitchen cabinets for these photos).
It's a really simple process. Basically, you need to select a smattering of plates and trays for the tiers. Then you need some pieces to use I bases and risers. I've found that small bowls and teacups turned upside-down make really good (and sturdy) bases, and that glassware makes good risers. Candlesticks make great risers, too, and can make good bases if they're sturdy enough.
Once you've decided how you're going to match up your pieces, just glue them together using a strong ceramic glue, and let them cure for a good 24-72 hours (or as long as your glue directs you).
If you're making a lot of stands, we've found that the creative process works best if you overbuy a bit. You really need a good assortment of objects in front of you for maximum variety potential. And, since everything is so cheap, it's okay if there are a couple pieces that you don't end up using. Just donate them back to the thrift store for some other lucky person to find; it's the circle of life.
A word on making these sturdy:
The biggest challenge here is making sure that your creations are sturdy enough. Obviously, you want to keep larger tiers at the bottom, selecting smaller ones as you move up, but I have a few other tips and tricks that might be less obvious.
01. In general, single-tier cake stands should have elevating bases, whereas multi-tier stands should be grounded with a plate.
02. Make the bottom heavy and the top light. If you've got a candle stick with a marble base (like the ones pictured), use it as a base for a stand, not as a riser three levels up on a multi-tiered stand. Basically, use gravity in your favor, not against yourself.
03. Use your best judgement. If something feels precarious, it probably is. See if you can rearrange the elements you love together in another way that's sturdier and just as cute.
Labels:
DIY,
food,
home decor,
my wedding,
thrift,
wedding
Subscribe to:
Posts (Atom)