


If you follow me on Instagram, you are, no doubt, well aware of my love for nail art. I like to do my own nails (it's a nice ritual and a good way to take a little "me time"), and I love trying out new trends.
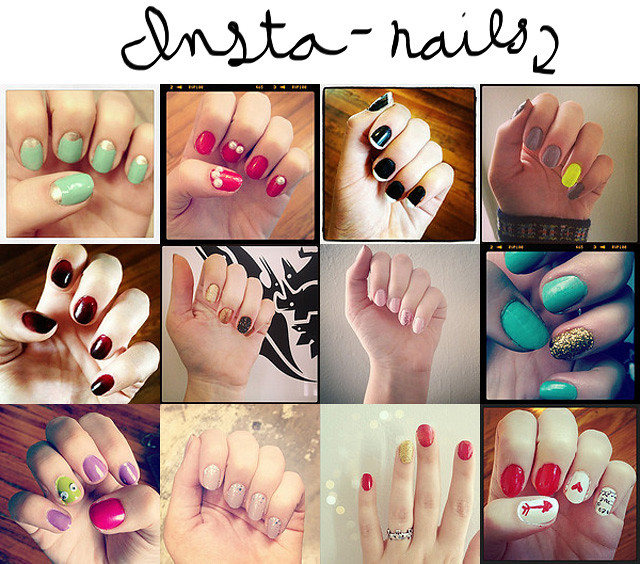
Some of my favorite recent nail trends include ombré, neon, oxblood, half-moon reverse French, and matte.
Lately, however, I've been interested in pushing the envelope a bit further and experimenting with 3D nail art. Last Halloween, I glued googly eyes to my nails (but they didn't last long) and, for a costume party, I tried glueing scrapbooking pearls to them with pretty awesome results.
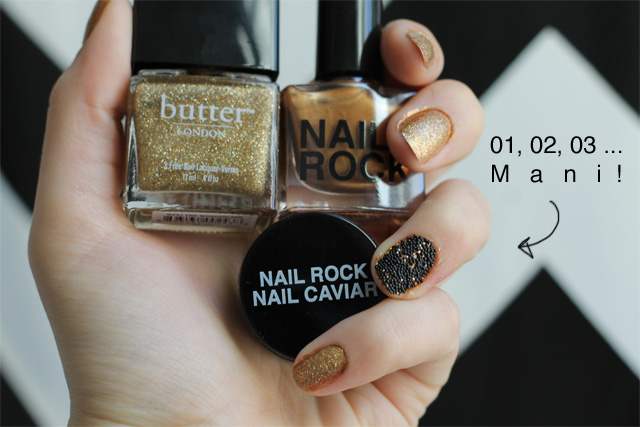
So, it was only a matter of time before I decided to test drive a caviar-nails kit. The one I bought is called "Nail Rock"and is available at Urban Outfitters for $8.00, but I think you could probably use seed beads, and I'm even considering trying to do it with candy sprinkles.
Here's how you get the look . . .

01. Paint nails with two coats of polish. Before the second coat dries, dip focus nail into caviar beads.
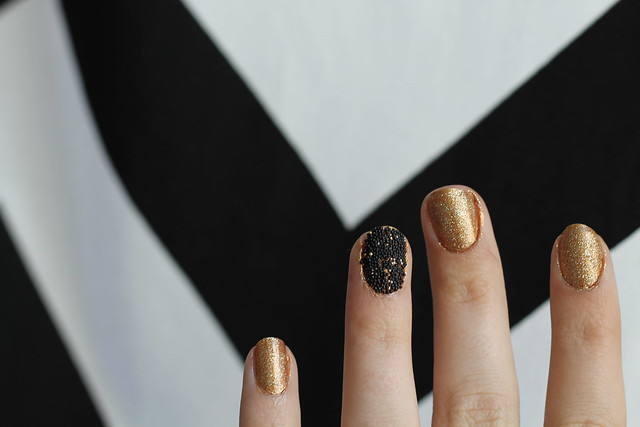
02. Lightly press beads into polish, brushing away excess. You'll want to do this on a smooth surface to simplify cleanup.
03. Pain remaining nails with a layer of glitter polish. Let dry.
04. Seal all nails with a clear topcoat. Let dry for a good 20-30 minutes.

0 comments:
Post a Comment