


I bought this vintage birdcage many years ago. I displayed it as it was, but always knew I wanted to do something more with it . . . something special.
Cut to last fall when I was apartment hunting and would literally spend hours on Pinterest, Apartment Therapy, and Design*Sponge soaking up home decor ideas like they were oxygen.
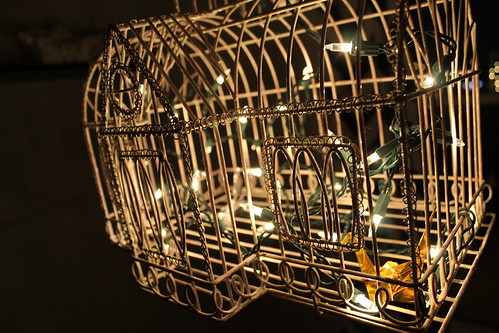
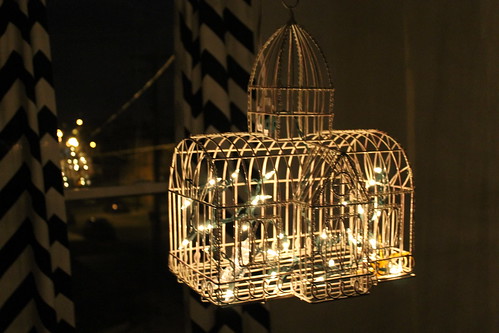
After seeing this lovely birdcage filled with Christmas lights on Pinterest, I knew I had to fill mine with lights. What a brilliant idea!
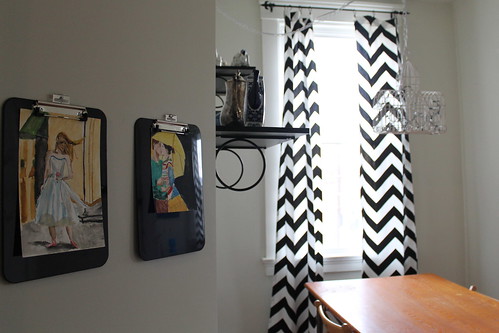
Then, after moving in to my apartment, I had another stroke of inspiration for how to kick things up a notch: I would not only fill the birdcage with Christmas lights; I would also hang it above the dining room table like a chandelier.
Boy, was I excited. The project proved to be a bit tricky to figure out in the planning stages, but the result was gorgeous. And, with these instructions, you can make something similar yourself with little to no hassle.
You will need:
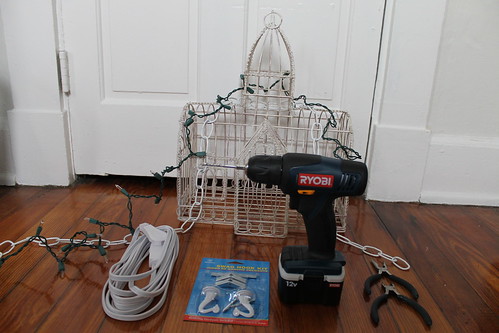
- A pretty birdcage, vintage or otherwise (try flea markets, eBay, thrift shops, or buy one new)
- A strand of Christmas lights
- Some chain long enough to reach from your chandelier to the ceiling, create a pretty swag to the corner, and run down the wall almost to the floor
- An extension chord as long as the chain plus with length to get from the floor board to the nearest outlet.
- Wire cutters (if you need to shorter your chain)
- A swag hook kit (available at hardware stores in the lighting aisle)
- A power drill
- A plain key ring
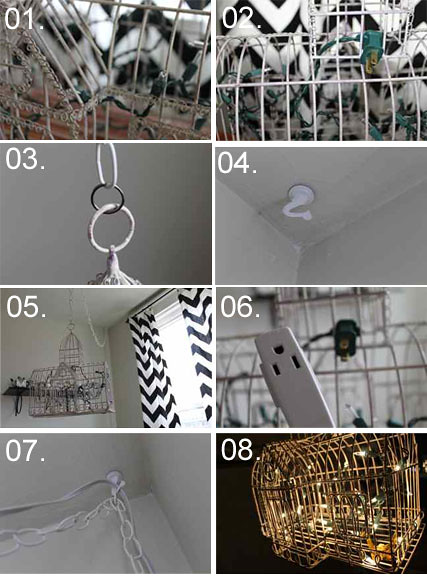
Step 01. Fill your birdcage with the Christmas lights, running them through the cage at various places to evenly space the bulbs throughout the cage.
Step 02. Position the plug of the Christmas lights at the center back and top of the cage.
Step 03. Attached the chain to the top of the birdcage with the plain keyring.
Step 04. Following the directions in the swag hook kit, hang one hook in the the ceiling directly above where you want your chandelier to hang and one in the nearest corner.
Step 05. Hang the birdcage by hooking a link of the chain into the first ceiling hook so that the cage is at the desired height. Hook another link into the second hook (the one in the corner) allow for a bit of decorative swag.
Step 06. Plug the Christmas lights into the extension chord.
Step 07. Wrapping the chord loosely around the chain, follow the same path as the chain, up through both hooks and down the wall in the corner.
Step 08. Plug it in, and enjoy your beautiful new chandelier. Add some metallic origami cranes if your like, or anything else you think might be pretty.

This is brilliant. I love how you have created something so beautiful from a simple bird cage. Great talent
ReplyDelete-Amena.
Fashionopolis By AmenaConnect On Facebook
Thanks!
ReplyDeleteThis is absolutely incredible!
ReplyDeleteI'm not sure I have the patience to create it myself but looking at your gorgeous results I may have to try...
Happy weekend and thanks for sharing! Becky at life/style/flash. blog x
Thank you so much. I hope you give it a go. Make sure to post the results if you do! :)
ReplyDeleteSuch a clever idea!
ReplyDeleteThank you!
Delete